Is your mailbox post old, leaning, and in disrepair? Replacing your weather-worn mailbox post is an easy way to boost your home’s curb appeal. As a bonus, this is a DIY project many homeowners can easily tackle! Keep reading for our step-by-step how-to on replacing your mailbox post!
Why Replacing Your Mailbox Post Matters
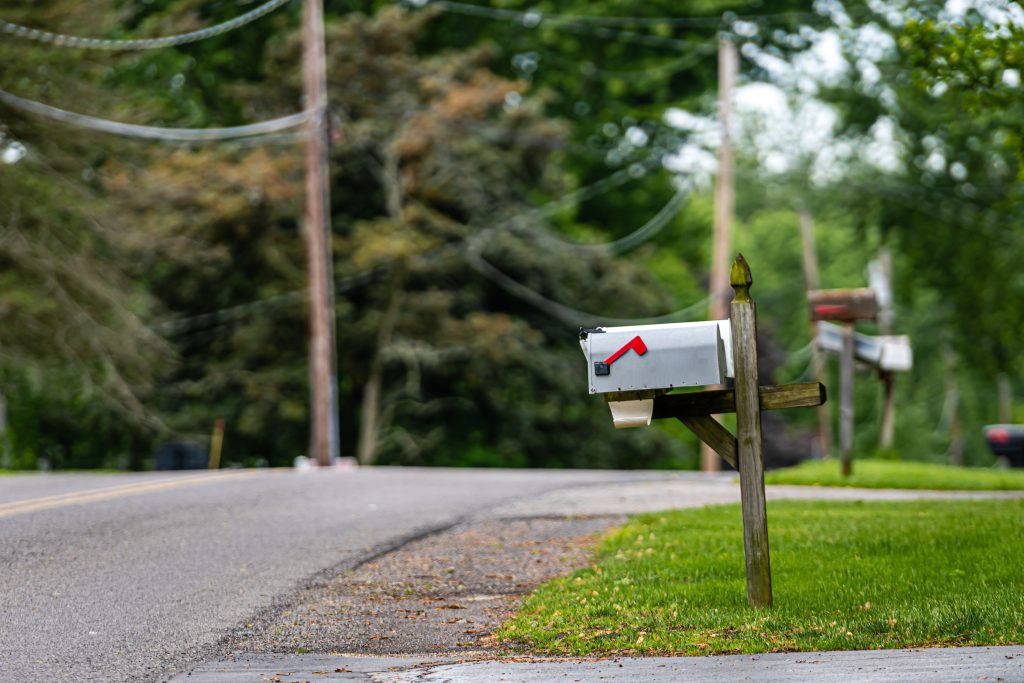
Your mailbox can often be the first thing people see when they approach your home. A broken, worn, crooked mailbox detracts from your home’s beauty. It can also make it hard for your mail person to deliver your mail. By replacing your worn-out mailbox post, you give new life to your mailbox, ensuring functionality and improved aesthetics!
Tools and Materials You’ll Need to Replace Your Mailbox Post
Before you start pulling up your mailbox, gather the tools and materials you need for successful replacement.
Here are the materials you’ll need:
- A new mailbox post – Choose from classic wood, durable aluminum, or beautiful decorative styles to enhance your home’s aesthetic.
- A mailbox – If your old mailbox no longer fits your style, consider an upgrade.
- Quick-setting concrete mix
- Gravel
- House numbers or reflective address plaque (optional)
Here are the tools you’ll need to remove and replace your mailbox post:
- Shovel or post-hole digger
- Level
- Measuring tape
- Screws or bolts
- Drill
- Bucket
Step 1: Remove the Old Mailbox Post Safely
Start by removing the mailbox from the old post. Next, dig around the base of the old post to loosen it from the ground. If the post is dug into concrete, create a wider hole around the concrete. With the post loosened, it should easily lift out of the ground. However, posts dug into concrete may require some extra help and wiggling.
Tip: Dispose of old wooden posts responsibly, especially if they’re treated lumber. Consider taking wooden posts to a wood recycling plant.
Step 2: Dig and Prep a New Hole for Your Mailbox Post
The USPS recommends a mailbox height of 41–45 inches from the ground to the bottom of the mailbox, with the front of the box 6–8 inches back from the curb.
- Dig a new hole – Approximately 24 inches deep and 8–10 inches wide.
- Add drainage gravel – Place 6 inches of gravel at the bottom of the hole. This helps water drain away and prevents wood rot or rust, leading to a longer lifespan for your new post.
Step 3: Set Your New Mailbox Post in Concrete
Setting your new mailbox post in concrete will keep your mailbox in place through almost anything. Here’s how to pour the concrete:
- Insert the post into the hole – Position the post centered and upright on the gravel.
- Level it – Use a level to ensure it’s straight from all angles.
- Pour concrete – Fill the hole with quick-setting concrete around the post. Follow the instructions on the mix—some are no-mix and can be poured dry and activated with water.
- Hold steady – Keep the post level and still while the concrete sets (usually 20–40 minutes). You can do this with a few clamps or by holding it yourself and sitting tight!
Pro Tip: For a clean look and to help with water drainage, slope the concrete slightly away from the post to direct water runoff.
Step 4: Mount Your Mailbox Securely to the Post
Now it’s time to reattach your mailbox! Most mailboxes come with predrilled holes, so reinstallation should be a breeze. Line up your drill pilot holes and use strong bolts to fasten the box securely.
Step 5: Add Final Touches for Curb Appeal and Function
Concrete bases can be messy. After the concrete cures, backfill the base with soil to create a more natural look.
Adding your house numbers to your mailbox will make it easier for mail carriers and emergency responders to find your house. Use reflective numbers to ensure nighttime visibility.
When to Call a Mailbox Post Installation Professional
If digging isn’t your thing—or you want a precision installation, Otto’s offers professional services in select Indiana neighborhoods. Let us handle the heavy lifting and ensure your post meets USPS regulations and looks flawless. Contact Otto’s Streetscape Solutions to ask about installation or browse our premium mailbox systems.
Contact Otto’s Streetscape Solutions Today!
For a comprehensive solution that combines quality, customization, and convenience to enhance your community’s Streetscape, consider contacting Otto’s Streetscape Solutions. Whether you want to upgrade your neighborhood’s mailboxes, signage, or lighting, Otto’s Streetscape has what you need!